The Two-Bucket Wash Method
Step-by-step guide to the two-bucket wash method: prevent swirl marks with proper technique, grit guards, mitts, and pre-wash foam.
Every scratch and swirl mark on your paint started somewhere, and for most vehicles, the biggest source of damage isn't road debris, parking lot incidents, or harsh weather. It's the wash. The simple act of rubbing a dirty tool across painted surfaces grinds particulate into your clear coat, and over hundreds of washes, the damage compounds into the dull, swirl-covered finish you see on most vehicles over five years old.
The two-bucket wash method is the single most effective thing you can do to stop inflicting damage during routine maintenance. It's not complicated. It doesn't require expensive equipment. It just requires understanding why it works and committing to the process.
Why One Bucket Destroys Paint
Think about a standard single-bucket wash. You dip your sponge or mitt into the soapy water, wash a panel, and then put the dirty mitt back in the same bucket. That dirt you just lifted off the paint is now floating in your wash water. When you dip the mitt back in for the next panel, you're loading it with the grit you just removed. Then you rub that grit-loaded mitt across the next panel under pressure. That's abrasive polishing — except completely uncontrolled and with whatever random particles happened to be on your car.
Multiply this by every panel on the vehicle, every wash, every week or two. The cumulative damage is significant. Under direct sunlight, it shows as a fine web of circular scratches radiating from every point of contact. Those are swirl marks, and they require machine polishing to remove.
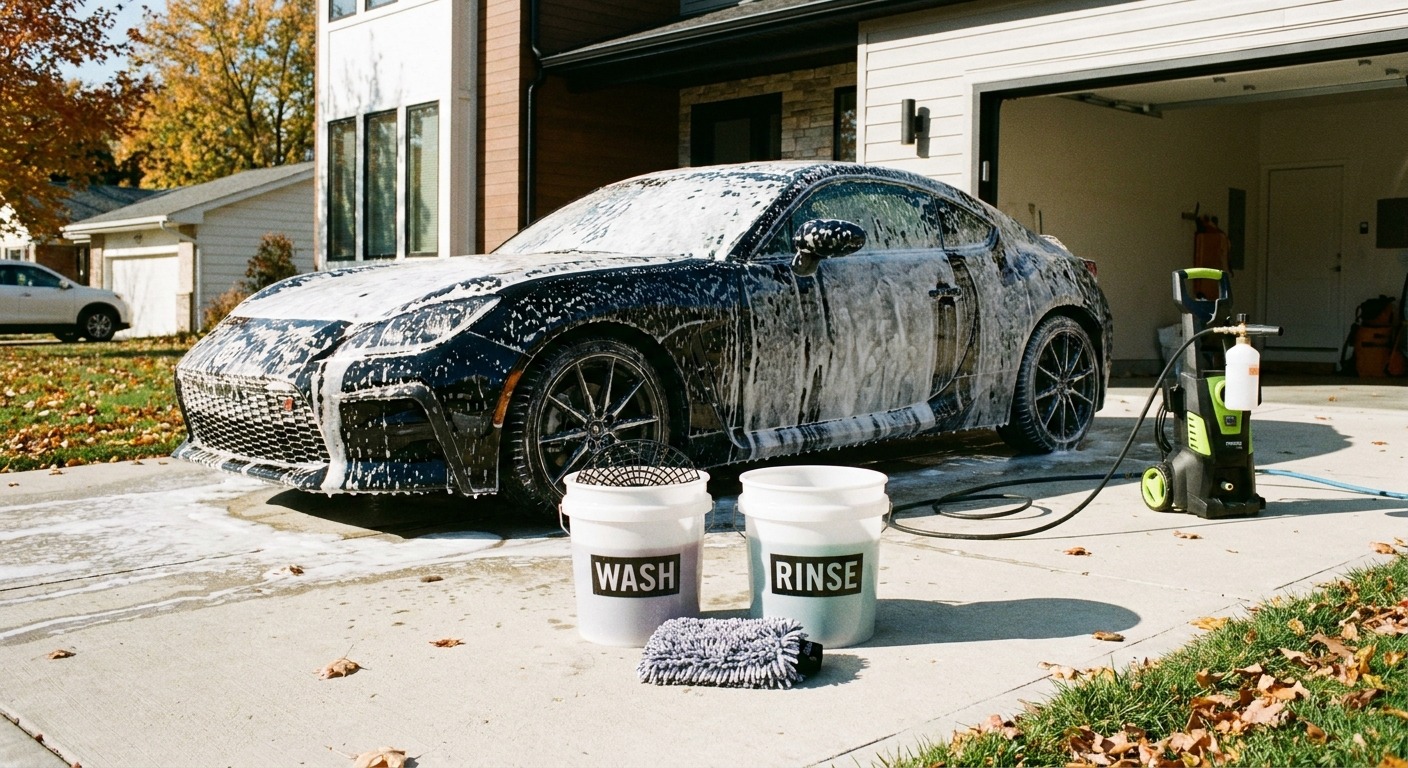
The Two-Bucket Setup
The system is straightforward. You use two buckets:
- Wash bucket: Filled with clean water and your car wash soap, mixed according to the product directions. This is where your mitt picks up clean, lubricated water.
- Rinse bucket: Filled with clean water only. This is where you rinse your dirty mitt before dipping it back into the wash bucket.
The workflow for every panel is: dip mitt in wash bucket, wash the panel, rinse mitt in the rinse bucket, squeeze out the dirty water, then dip the mitt back in the clean wash bucket. The wash water stays clean. The dirty water stays in the rinse bucket. Your mitt never transfers dirt from one panel to the next.
Grit Guards: The Piece Most People Skip
A grit guard is a raised plastic grate that sits at the bottom of each bucket. Dirt and grit that rinse off the mitt fall through the grate and settle at the bottom of the bucket, below the guard. When you push your mitt down into the bucket, the grit guard prevents you from reaching the settled contamination at the bottom.
Without grit guards, the turbulence of dunking and agitating your mitt kicks settled grit back into suspension, defeating a large part of the two-bucket benefit. Grit guards cost a few dollars each and fit most standard five-gallon buckets. There's no good reason to skip them.
Pro tip: Run your hand along the bottom of your rinse bucket after a wash. You'll feel the grit that would have gone back onto your paint without the two-bucket method. It's a convincing demonstration the first time you do it.
Choosing a Wash Mitt
The tool you use to wash matters as much as the method. The wrong choice here undermines everything else.
Avoid sponges. Flat sponge surfaces trap dirt on the contact face and grind it into paint. There's no place for particles to be lifted away from the surface. Sponges are for dishes, not cars.
Microfibre wash mitts are the most popular choice among enthusiasts. The deep pile of a quality microfibre mitt pulls dirt away from the paint surface and traps it within the fibres, reducing the chance of it being dragged across the paint. Look for a mitt with a dense, long pile — the longer the better for dirt trapping.
Lamb's wool (sheepskin) mitts are the traditional detailer's choice and still excellent. Natural wool encapsulates dirt effectively. They cost more and require more careful washing, but many long-time detailers swear by them.
Whatever mitt you choose, use minimal pressure. Let the soap and water do the work. The mitt's job is to gently lift dirt off the surface, not scrub it off through force.
Step-by-Step: The Full Wash Process
Here's the complete process from start to finish, assuming you have your two buckets, grit guards, mitt, drying towels, and wash soap ready.
1. Pre-rinse the entire vehicle. Use a hose or pressure washer to remove loose dirt, dust, and debris before you touch the paint with anything. This step alone removes a significant amount of contamination that would otherwise get trapped in your mitt. Pay attention to wheel wells, lower rocker panels, and the rear of the vehicle where road grime accumulates heaviest.
2. Pre-wash foam (optional but recommended). A foam cannon or pump sprayer loaded with a dedicated pre-wash or snow foam coats the vehicle in a thick layer of cleaning foam. This foam clings to the surface and begins breaking down dirt and road film before you make contact with your mitt. After two to five minutes of dwell time, rinse the foam off. You've just removed another layer of contamination safely.
3. Wash the wheels first. Wheels are the dirtiest part of the vehicle — brake dust, road grime, tar — and they need their own dedicated brushes and bucket. Never use your paint mitt on wheels. A set of wheel-specific brushes and a separate bucket keeps that heavy contamination away from your paint wash setup entirely.
4. Wash from top to bottom. Start at the roof and work down. The upper panels of a vehicle are cleaner than the lower panels, so you're always moving from cleaner to dirtier. This means your mitt picks up less contamination on the first panels and progressively more as you work down — and since you're rinsing between every panel, the risk stays managed.
5. Work one panel at a time. Wash the roof, rinse the mitt. Wash the hood, rinse the mitt. Wash one side of the vehicle, rinse the mitt. Never try to do the whole car on one dip. Straight-line motions along the length of the panel are better than circular motions — if you do create a fine scratch, a straight line is less visible and easier to polish out than a circular swirl mark.
6. Rinse each panel immediately. Don't let soap dry on the paint, especially in direct sunlight or warm temperatures. If you can, work in the shade or wash in the early morning or evening. Dried soap residue is a pain to remove and can cause water spots.
7. Final rinse. Once the entire vehicle is washed, do a complete final rinse from top to bottom. If you have a hose without a nozzle, the sheeting action of free-flowing water does a better job of carrying water off the surface in sheets rather than leaving droplets everywhere.
Drying: The Other Half of the Equation
A proper wash followed by improper drying still damages paint. Dragging a chamois or old bath towel across your freshly washed paint introduces the same kind of marring you just avoided during the wash.
Use a quality waffle-weave or plush microfibre drying towel. Pat and blot rather than dragging with pressure. A drying aid spray adds lubrication and reduces friction. Some people use a leaf blower or dedicated car dryer to push water off the surface without touching it at all — fewer towel passes means less chance of marring.
If you have hard water — and most of Canada does — drying promptly matters. Hard water spots left to bake in the sun will etch clear coat over time, sometimes requiring compound and polish to remove. Don't give them the chance.
Common Mistakes
Even with the right setup, a few mistakes can undermine the process:
- Dropping the mitt on the ground. If your mitt hits the driveway or garage floor, it's done for that wash. Put it aside and grab a fresh one. The amount of grit a mitt picks up from one drop is staggering.
- Not rinsing the mitt thoroughly enough. A quick swirl in the rinse bucket isn't sufficient. Agitate the mitt against the grit guard to release trapped dirt, then squeeze it out before returning to the wash bucket.
- Washing in direct sun. Hot panels cause soap and water to evaporate before you can rinse, leaving residue and water spots. If shade isn't available, work one panel at a time and rinse immediately.
- Using dish soap. Dish detergent strips wax, sealant, and ceramic coating. Use a dedicated car wash soap that's pH-neutral and designed to clean without stripping protection.
- Reusing wash water. Fresh water each wash. Both buckets. Every time. No exceptions.
Beyond the Wash
The two-bucket method is the foundation, but it's part of a larger maintenance routine. Once your wash technique is dialled in, the next steps are clay bar decontamination when the paint feels rough even after washing, and protection — wax, sealant, or ceramic coating — to keep the clean paint defended against the elements.
The same principles of careful, low-friction contact apply to every step. Whether you're washing, claying, polishing, or applying protection, the goal is always the same: get the job done while putting as little unnecessary stress on the clear coat as possible. The two-bucket wash is where that mindset starts, and it's the habit that will do the most good over the life of your vehicle's paint.
It works just as well on boats and motorcycles, by the way. The scale changes, but the principle is universal: keep your cleaning tool clean, and your paint stays clean too.