Clay Bar Decontamination: When and How
Complete guide to clay bar decontamination: what surface contamination is, how to test for it, proper technique, and clay bar vs clay mitt comparison.
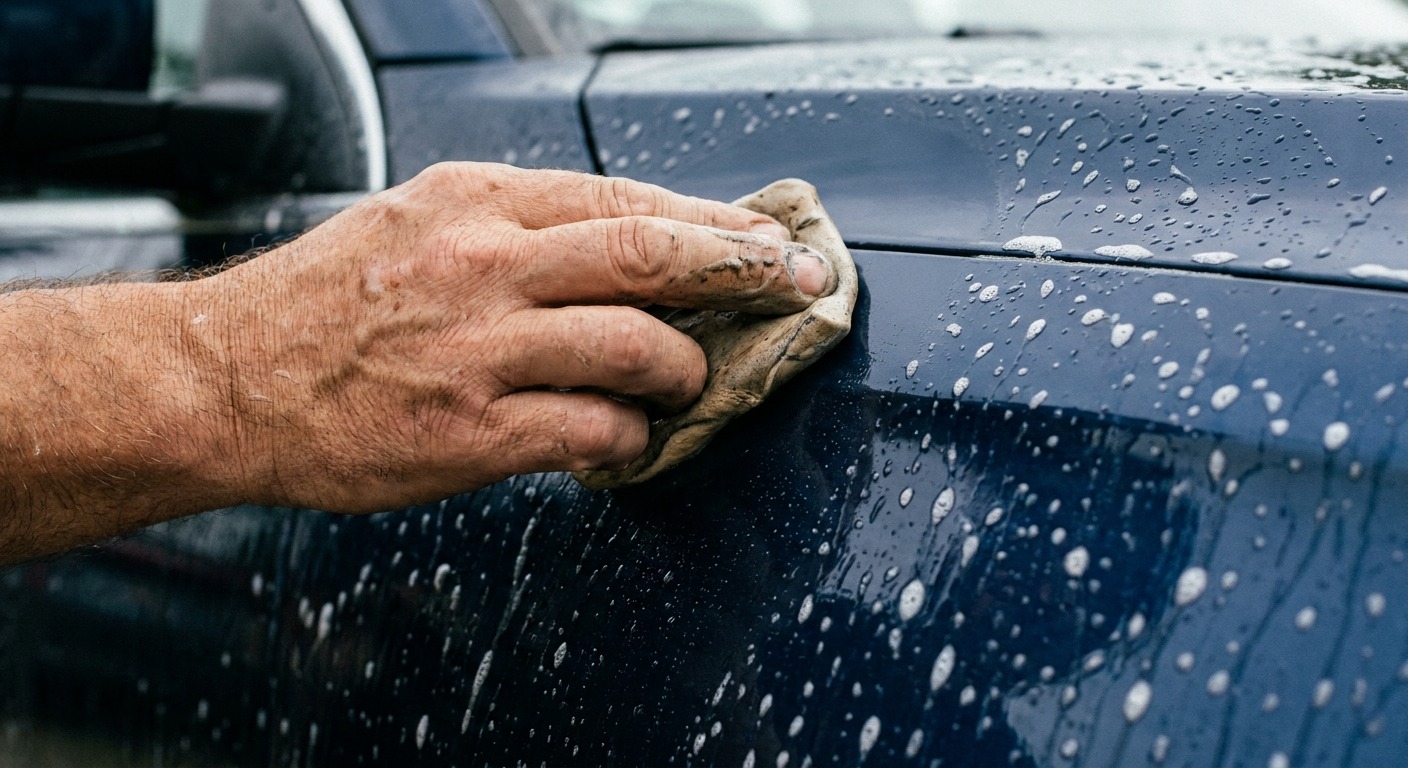
You've just finished a thorough two-bucket wash. The car looks clean. But run your fingertips lightly across the paint and you feel it — a rough, gritty texture, like fine sandpaper, on a surface that should be glass-smooth. That roughness is bonded contamination, and no amount of washing will remove it. Soap and water lift loose dirt off the surface. Contamination that has bonded to your clear coat requires a different approach: mechanical decontamination.
Clay barring is that approach, and it's one of the most satisfying steps in the detailing process. The difference between a contaminated panel and a freshly clayed one is dramatic — you can feel it instantly with your hand, and you can see the difference in how water behaves on the surface.
What Is Surface Contamination?
The roughness you feel on seemingly clean paint is caused by microscopic particles that have embedded themselves in or bonded to the clear coat. These particles come from a variety of sources:
Industrial fallout. Airborne particles from manufacturing, construction, and general industry settle on horizontal surfaces — hoods, roofs, and trunk lids take the worst of it. If you live near industrial areas, railways, or construction zones, your vehicle collects this contamination constantly.
Rail dust. Iron particles from train brake pads become airborne near railway tracks and can travel significant distances. These iron particles embed in clear coat and begin to oxidize (rust), creating small orange or brown spots visible on light-coloured paint. In Canada, with our extensive freight rail network, rail dust is an incredibly common contaminant, especially for vehicles parked near rail corridors.
Brake dust. Your own brakes shed metallic particles every time you stop. Some of this ferrous contamination bonds to clear coat the same way rail dust does, especially on wheels and lower body panels.
Overspray. Paint overspray from house painting, road marking, or industrial coating drifts surprising distances and bonds on contact.
The Plastic Bag Test
Before you clay, you should confirm that your paint actually needs it. The easiest test is the plastic bag method. After washing and drying a panel, place your hand inside a thin plastic sandwich bag and run your fingertips lightly across the paint. The bag amplifies the tactile sensation — you'll feel contamination through the bag more distinctly than with bare fingers.
Smooth like glass? You don't need to clay. Rough, gritty, or bumpy? It's time. Test multiple panels, since contamination isn't always uniform — horizontal surfaces like the hood and roof typically accumulate more than vertical surfaces like doors.
Pro tip: The plastic bag test works on every painted surface, including boat gel coat and motorcycle fairings. If it feels rough through the bag, it has bonded contamination that claying will address.
Chemical Decontamination First
Before reaching for a clay bar, consider chemical decontamination. Iron remover sprays — sometimes called fallout removers — are sprayed onto the surface and react chemically with ferrous (iron-based) contamination. You'll see the product turn purple or red as it dissolves iron particles. After a few minutes of dwell time, you rinse it off, and a significant portion of the metallic contamination is gone without any physical contact.
Chemical decontamination doesn't replace claying entirely — it won't remove organic contamination, overspray, or non-metallic particles — but it dramatically reduces the amount of work the clay bar has to do. Less work for the clay means less friction on the surface, which means less risk of marring. In areas with heavy industrial or rail contamination, chemical decontamination before claying is strongly recommended.
Tar remover handles the black tar spots on lower panels that iron removers won't touch. Removing tar chemically is gentler than trying to pull it off mechanically with clay.
Clay Bar Technique
The process is straightforward, but the details matter.
1. Start with a clean, freshly washed vehicle. You don't want to clay over loose dirt — that defeats the purpose. A full wash removes surface dirt and leaves only the bonded contamination for the clay to address.
2. Prepare your clay. Break off a piece of clay bar roughly the size of a large marble or small walnut. Flatten it into a disc or patty shape — you want a broad, flat contact area. If you're using a new bar, knead it in your hands first to warm it up and make it more pliable.
3. Lubricate generously. This is the most critical part of the technique. The clay must glide across the surface on a layer of lubricant — never on dry paint. Use a dedicated clay lubricant or a diluted quick detailer spray. Apply enough that the surface is visibly wet and the clay slides freely without grabbing or dragging.
4. Glide the clay across the surface. Use straight, back-and-forth motions with light pressure. Don't press hard — the clay picks up contamination through gentle shearing action, not through force. Work a section roughly 30 by 30 centimetres at a time. You'll feel the clay grabbing initially as it picks up contamination, and then the resistance decreases as the surface gets cleaner. That change in feel is your feedback — when the clay glides freely, that section is done.
5. Check and fold the clay regularly. After each panel or section, look at the contact side of the clay. You'll see contamination embedded in it — dark specks and discolouration. Fold the clay to expose a fresh surface before moving to the next section. If the clay gets saturated with contamination, discard it and start with a fresh piece.
6. Wipe the panel. After claying a section, wipe away the lubricant residue with a clean microfibre towel. Run the plastic bag test again to confirm the surface is smooth.
7. Drop it, discard it. If your clay hits the ground at any point, throw it away immediately. It will pick up grit and debris that will scratch your paint on the next pass. No exceptions. The cost of a new clay bar is nothing compared to the cost of repairing the scratches a contaminated clay bar creates.
Clay Bar vs Clay Mitt vs Clay Towel
Traditional clay bars are the original tool for this job and still offer the finest level of control and decontamination. They're also the slowest and most technique-sensitive option.
Clay mitts are rubber-like polymer mitts that function similarly to a clay bar but cover a much larger area per pass. They're faster, reusable (rinse them in water when they pick up contamination), and harder to drop since they fit over your hand. The trade-off is that they're slightly more aggressive than a fine clay bar and may induce light marring on very soft paint.
For most enthusiasts, a clay mitt is the practical choice. They're faster, less prone to user error, and the slight increase in aggression is manageable with proper lubrication and light pressure. If you're prepping for a paint correction anyway, any light marring from a clay mitt will be removed during the polishing stage. For show cars or very soft paint, a fine-grade traditional clay bar gives you the most control.
Clay barring is a prep step, not a protection step. It removes contamination so the surface is ready for polishing or protection. Always follow claying with either a polish, sealant, wax, or coating — never leave freshly clayed paint unprotected.
How Often Should You Clay?
Clay barring is not a step that needs to happen at every wash. It's a periodic decontamination step that you perform when the plastic bag test tells you it's needed. For most vehicles in typical Canadian driving conditions:
- Two to four times per year is typical for daily drivers.
- Once or twice per year may be sufficient for vehicles with ceramic coatings, since the coating prevents much contamination from bonding directly to the clear coat.
- Before any correction or coating application, always. Starting correction on contaminated paint means grinding that contamination into the clear coat with your polishing pad.
- After winter, a spring clay bar treatment is almost always warranted in Canada. Six months of road salt, sand, and chemical deicers leave significant bonded contamination.
After Claying: Next Steps
Freshly clayed paint is perfectly clean but completely unprotected. The clay may have also removed any existing wax or sealant along with the contamination. Your immediate next step depends on the condition of the paint:
If the paint is in good condition with minimal swirl marks, go directly to protection — wax, sealant, or ceramic coating. The decontaminated surface will bond better with any protective product than a contaminated one would.
If the paint has swirl marks, scratches, or other defects, this is the ideal time for paint correction. Claying before polishing ensures your pads aren't grinding contamination into the clear coat during the correction process.
For interior work, clay isn't relevant — but the same principle of decontamination before protection applies to leather and vinyl care as well. Clean first, protect second.
The satisfaction of running your hand across a freshly clayed panel — that completely smooth, frictionless glide — is one of the best feelings in detailing. Once you feel it, you'll understand why detailers treat claying as a non-negotiable step in any serious paint care routine.